How are you? I know it’s been awhile. How’s your summer? Mine is going way too fast. I thought it was time I filled you in on at least some of what’s happening here.
Years ago Steve and I had neighbors who were always in search of the “A-List.” You know, the one with people who supposedly had more money/power/status. Until they found it, however, they were content to travel along life’s path with the rest of us. I suppose we should have been insulted by this attitude, but they were so blatant they were funny. (And we weren’t the only ones thinking that.) Not surprisingly, the relationship quietly drifted apart. Maybe thy found the A-List? However, the A-List remains a running joke in our household.
This post has nothing to do with money, power or status, but it is a dump of what I’ve been up to this season and it turns out that it all starts with the letter P. .
First there is the patio

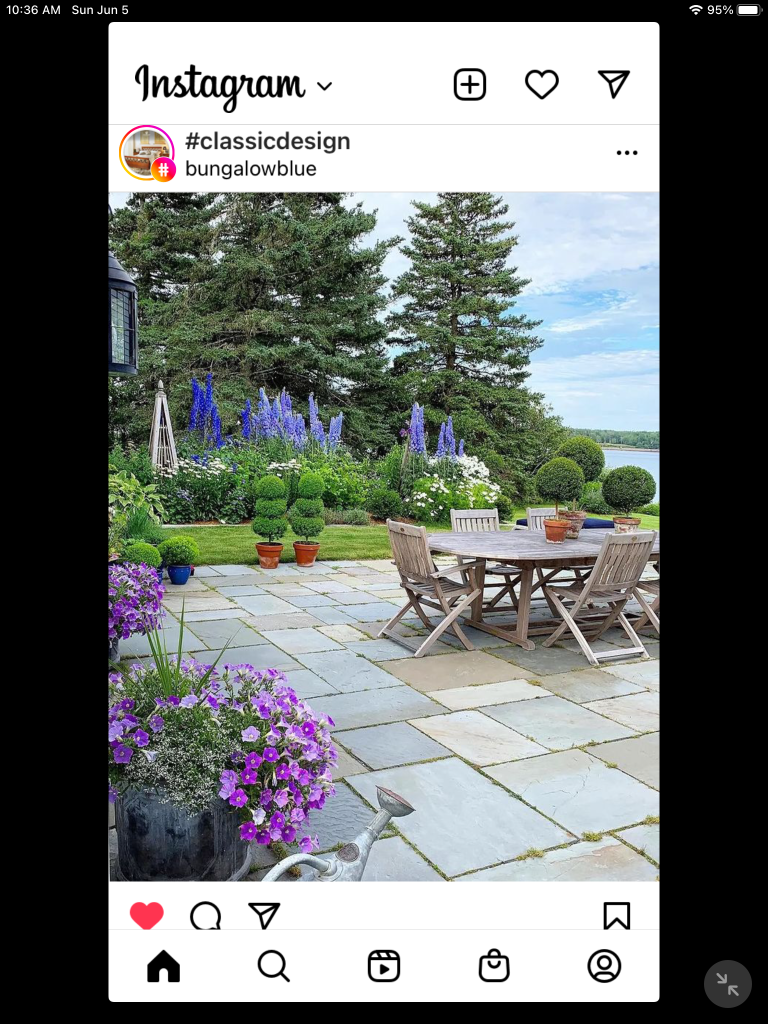
The patio the builder attached to this house was a small cement rectangle that barely held a round dining table and four chairs along with a grill. In fact, if you chose the wrong chair you were the lucky one able to reach out from your seat and flip the burgers. So, a few weeks ago we had that slab removed and a new, much larger one poured to replace it. I am not a fan of cement slabs, but in our really little yard (we have the smallest lot in the subdivision), it seems to ground the landscape and offer some good possibilities for additional landscaping.
Just to complicate things, our design/decision-making was somewhat delayed by the fact that the house behind us, which actually sits perpendicular to ours, is on a lot that was graded a few feet higher than ours and those of the neighbors on each side. This was probably the fault of the initial developer, but thankfully the new owner in that house — not wanting his lawn, etc., to wash into ours or the neighbors’ — put his foot down with the builder. After weeks of work and readjustments to drains and irrigation, a landscaping company has installed a low, very attractive stone retaining wall. Win, win for all concerned. It looks soooo good.
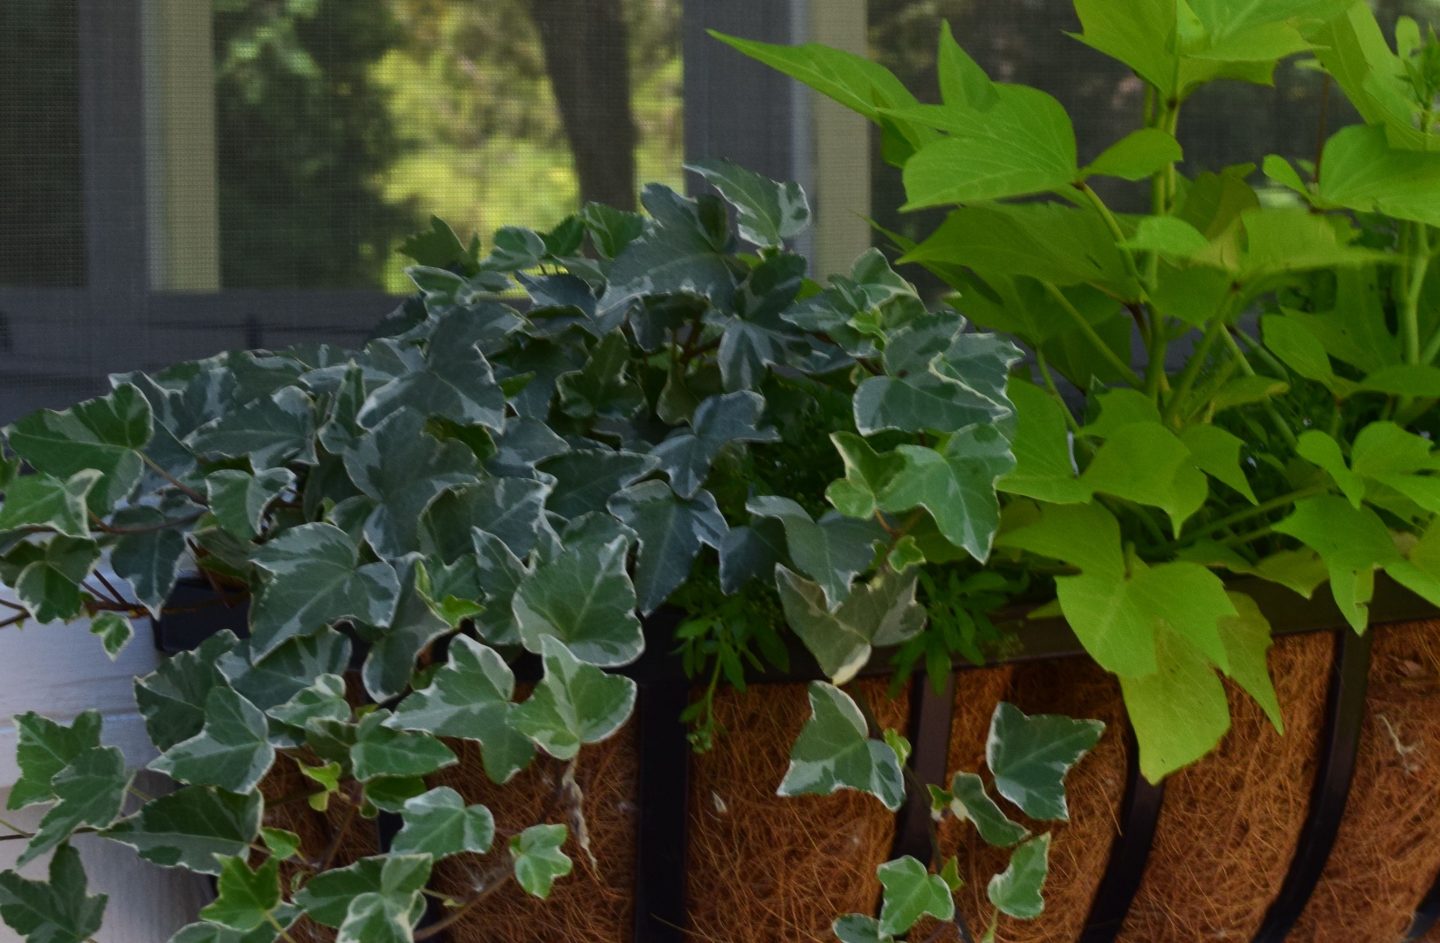
Meanwhile, Steve and I, along with some extra muscle from our son, softened the cement block look of the patio with some dwarf hydrangeas and perennials. There is more landscaping to come along “the wall” and outside the sunroom, but not until we are out of the worst of this heat. In the meantime, we’re excited to move forward with this and have been having coffee on the patio most mornings! If there is anything we have missed from our Wheaton home, it’s the mature landscaping, but starting from scratch is an interesting challenge.
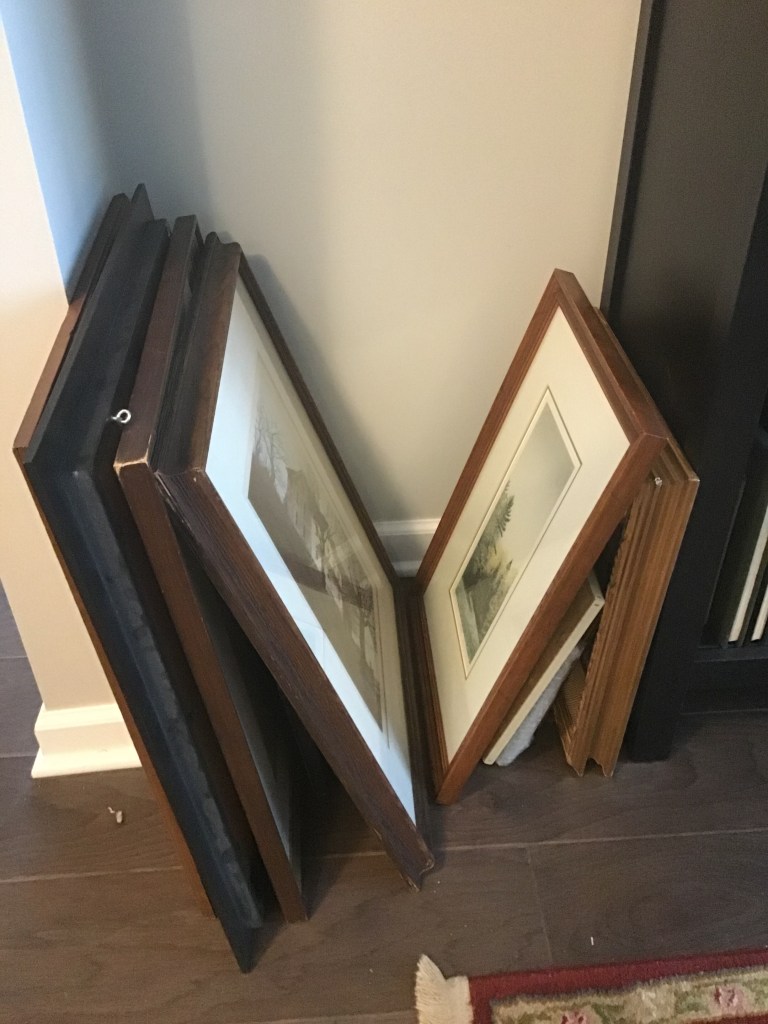
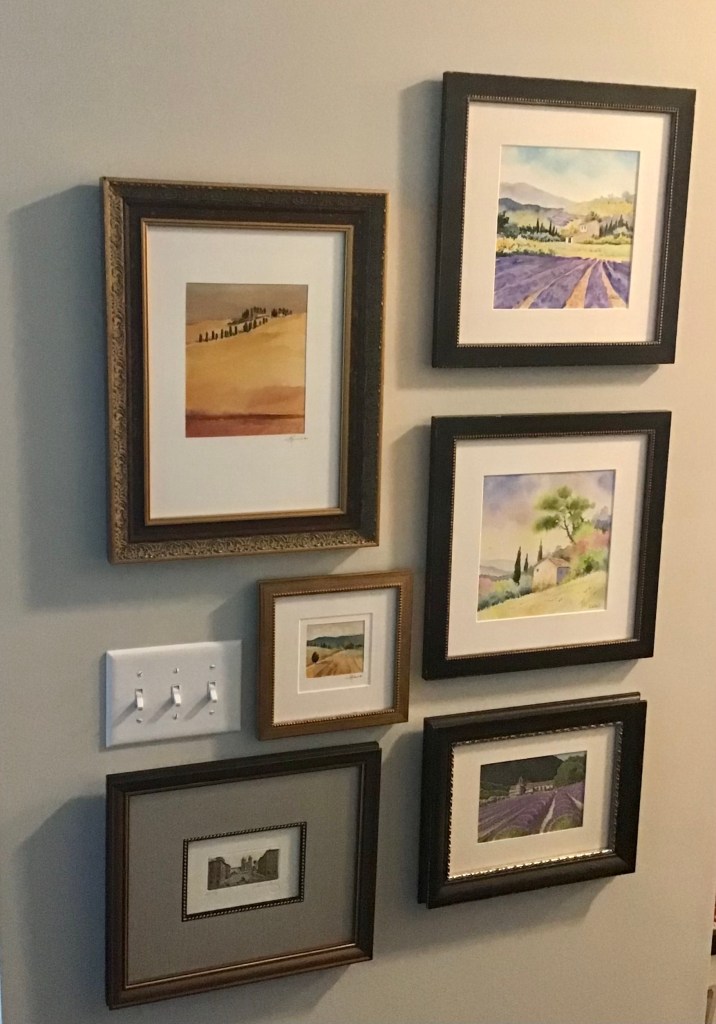
Painting
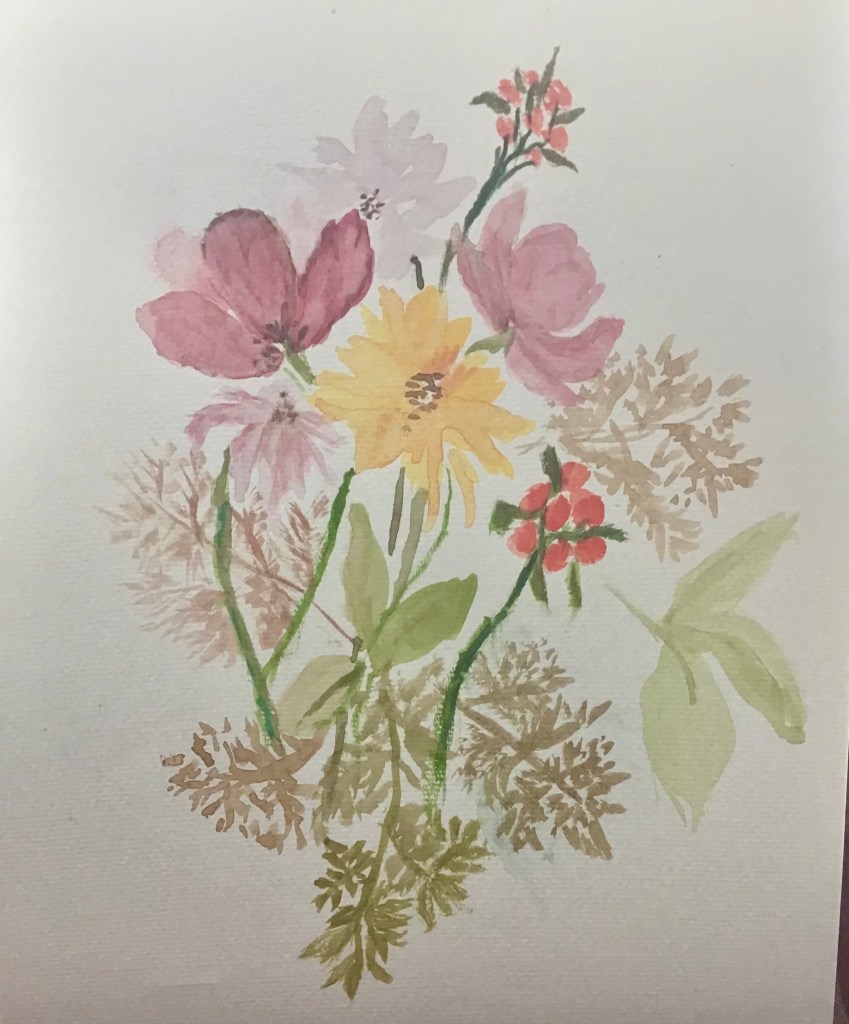
I happily admit that I am now totally obsessed with my watercolor efforts. I’m watching YouTube videos, reading, and now trying to do sone sketching or painting every day. And, of course, my class continues to meet. It’s interesting to sample the different watercolor styles of my classmates along with the artists I’ve discovered on YouTube.
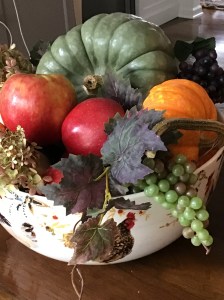
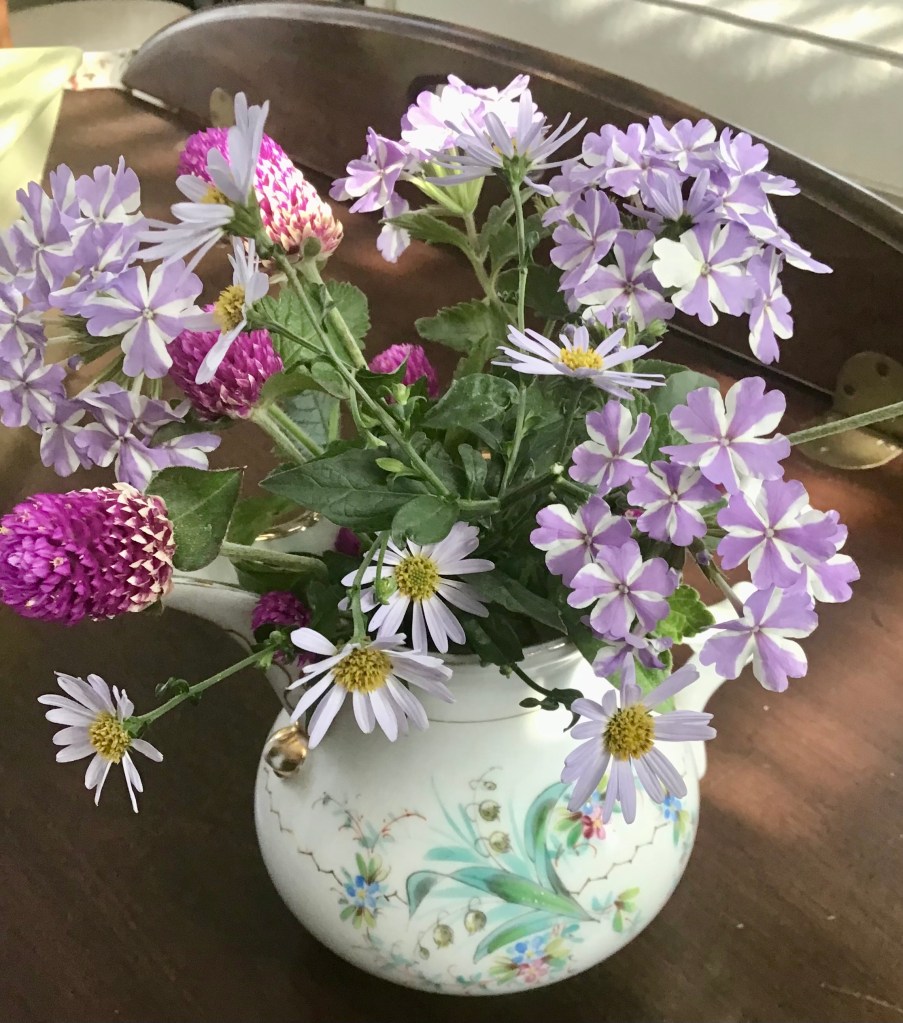
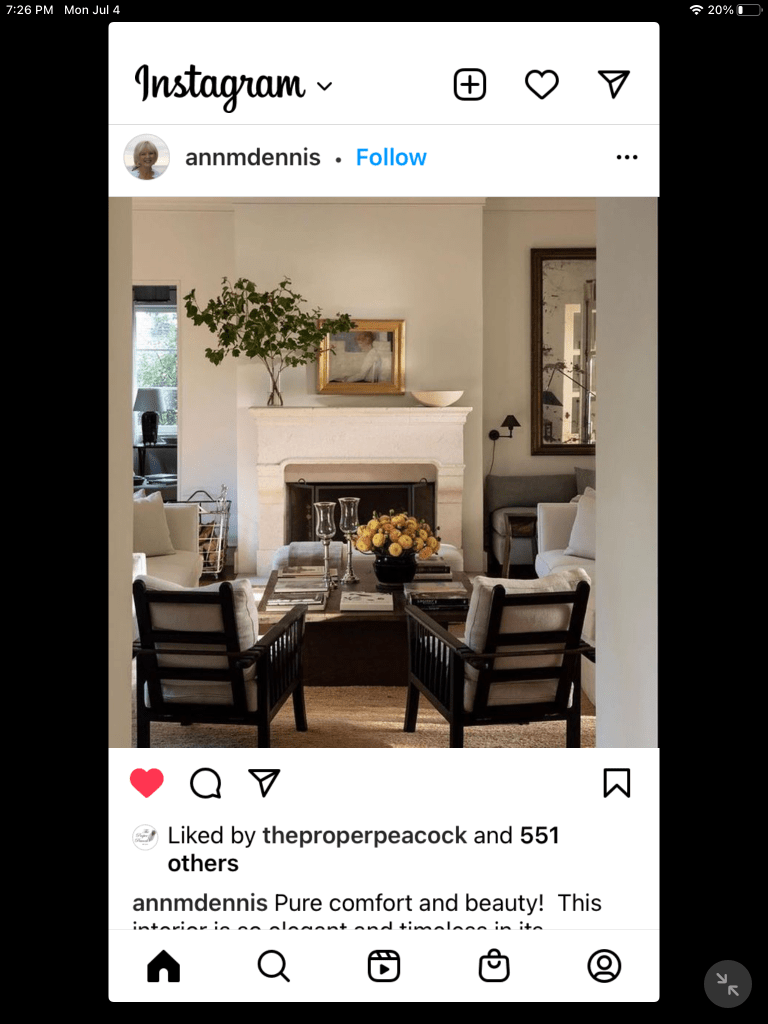
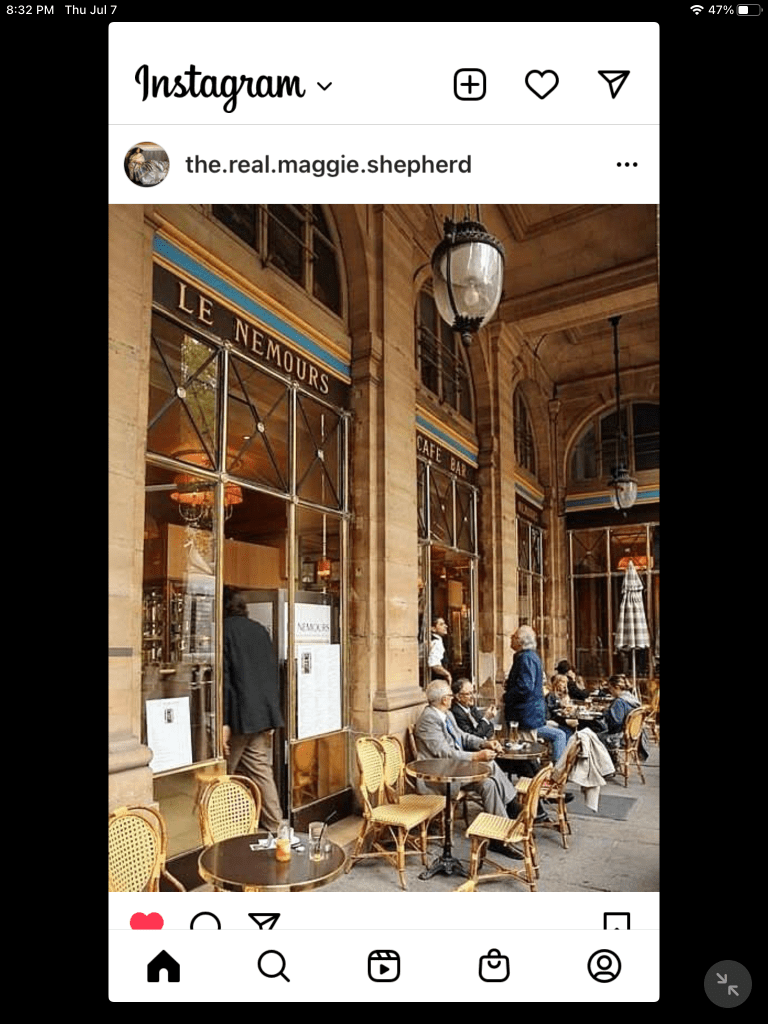
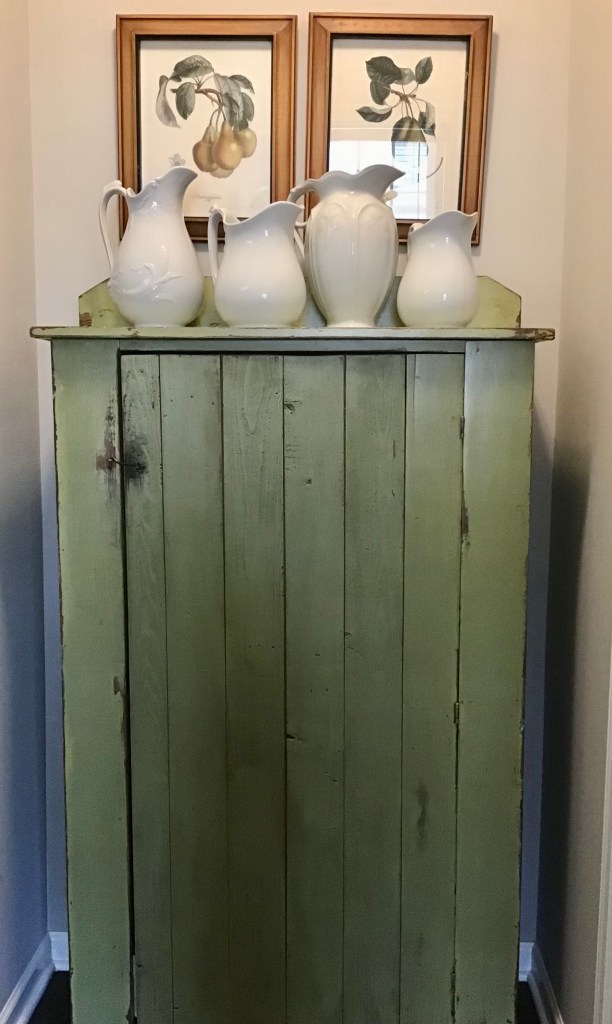
I’ve acquired a very cool pocket-sized set of paints to use when painting away from home as well as a small sketch pad to carry with me. Plein air painting is a joy. There is something about being surrounded by Nature that feeds whatever artistic inspiration one has. My goal is to draw or paint a bit each day. But that’s easier said than done, and some days the results are very satisfying, some not so much. I find I look at artwork, scenery, a vase of flowers, or even a vignette of books and candles on a tabletop or shelf differently.
Postcards
During the last election cycle in 2022 I joined my daughter and daughter-in—law in the postcard project to contact individual registered voters and encourage them to vote in the coming election. Basically we hand write a short, non-partisan “get out the voter” message provided by the project on postcards also provided by the project, address them to individuals from the registration lists provided, and mail the postcards on a specific day in late October. The project does not endorse specific candidates or a party, although it is sponsored by the Progressive Turnout Project whose mission is to rally Democrats to vote. Statistically, the project knows this personal contact significantly improves voter turnout.
I’m not comfortable ringing doorbells or making phone calls for a specific candidate, but like many people I feel helpless in in the midst of a messy campaign and an election that could completely alter our lives. In fact all of this would give me a monumental headache if I did not feel as though I am at least doing something. If you are interested in learning more about this grassroots project, visit the website, www.turnoutpac.org.
I hope you are cool, dry, and enjoying the sweetness of summer. Thank you for stopping by.


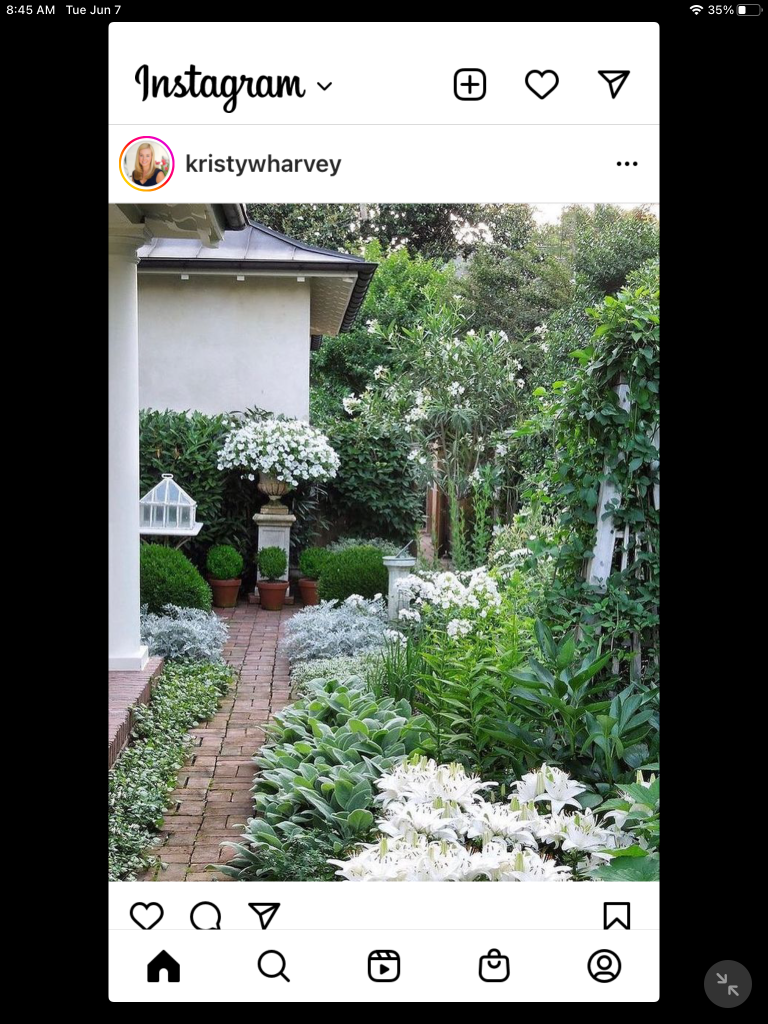


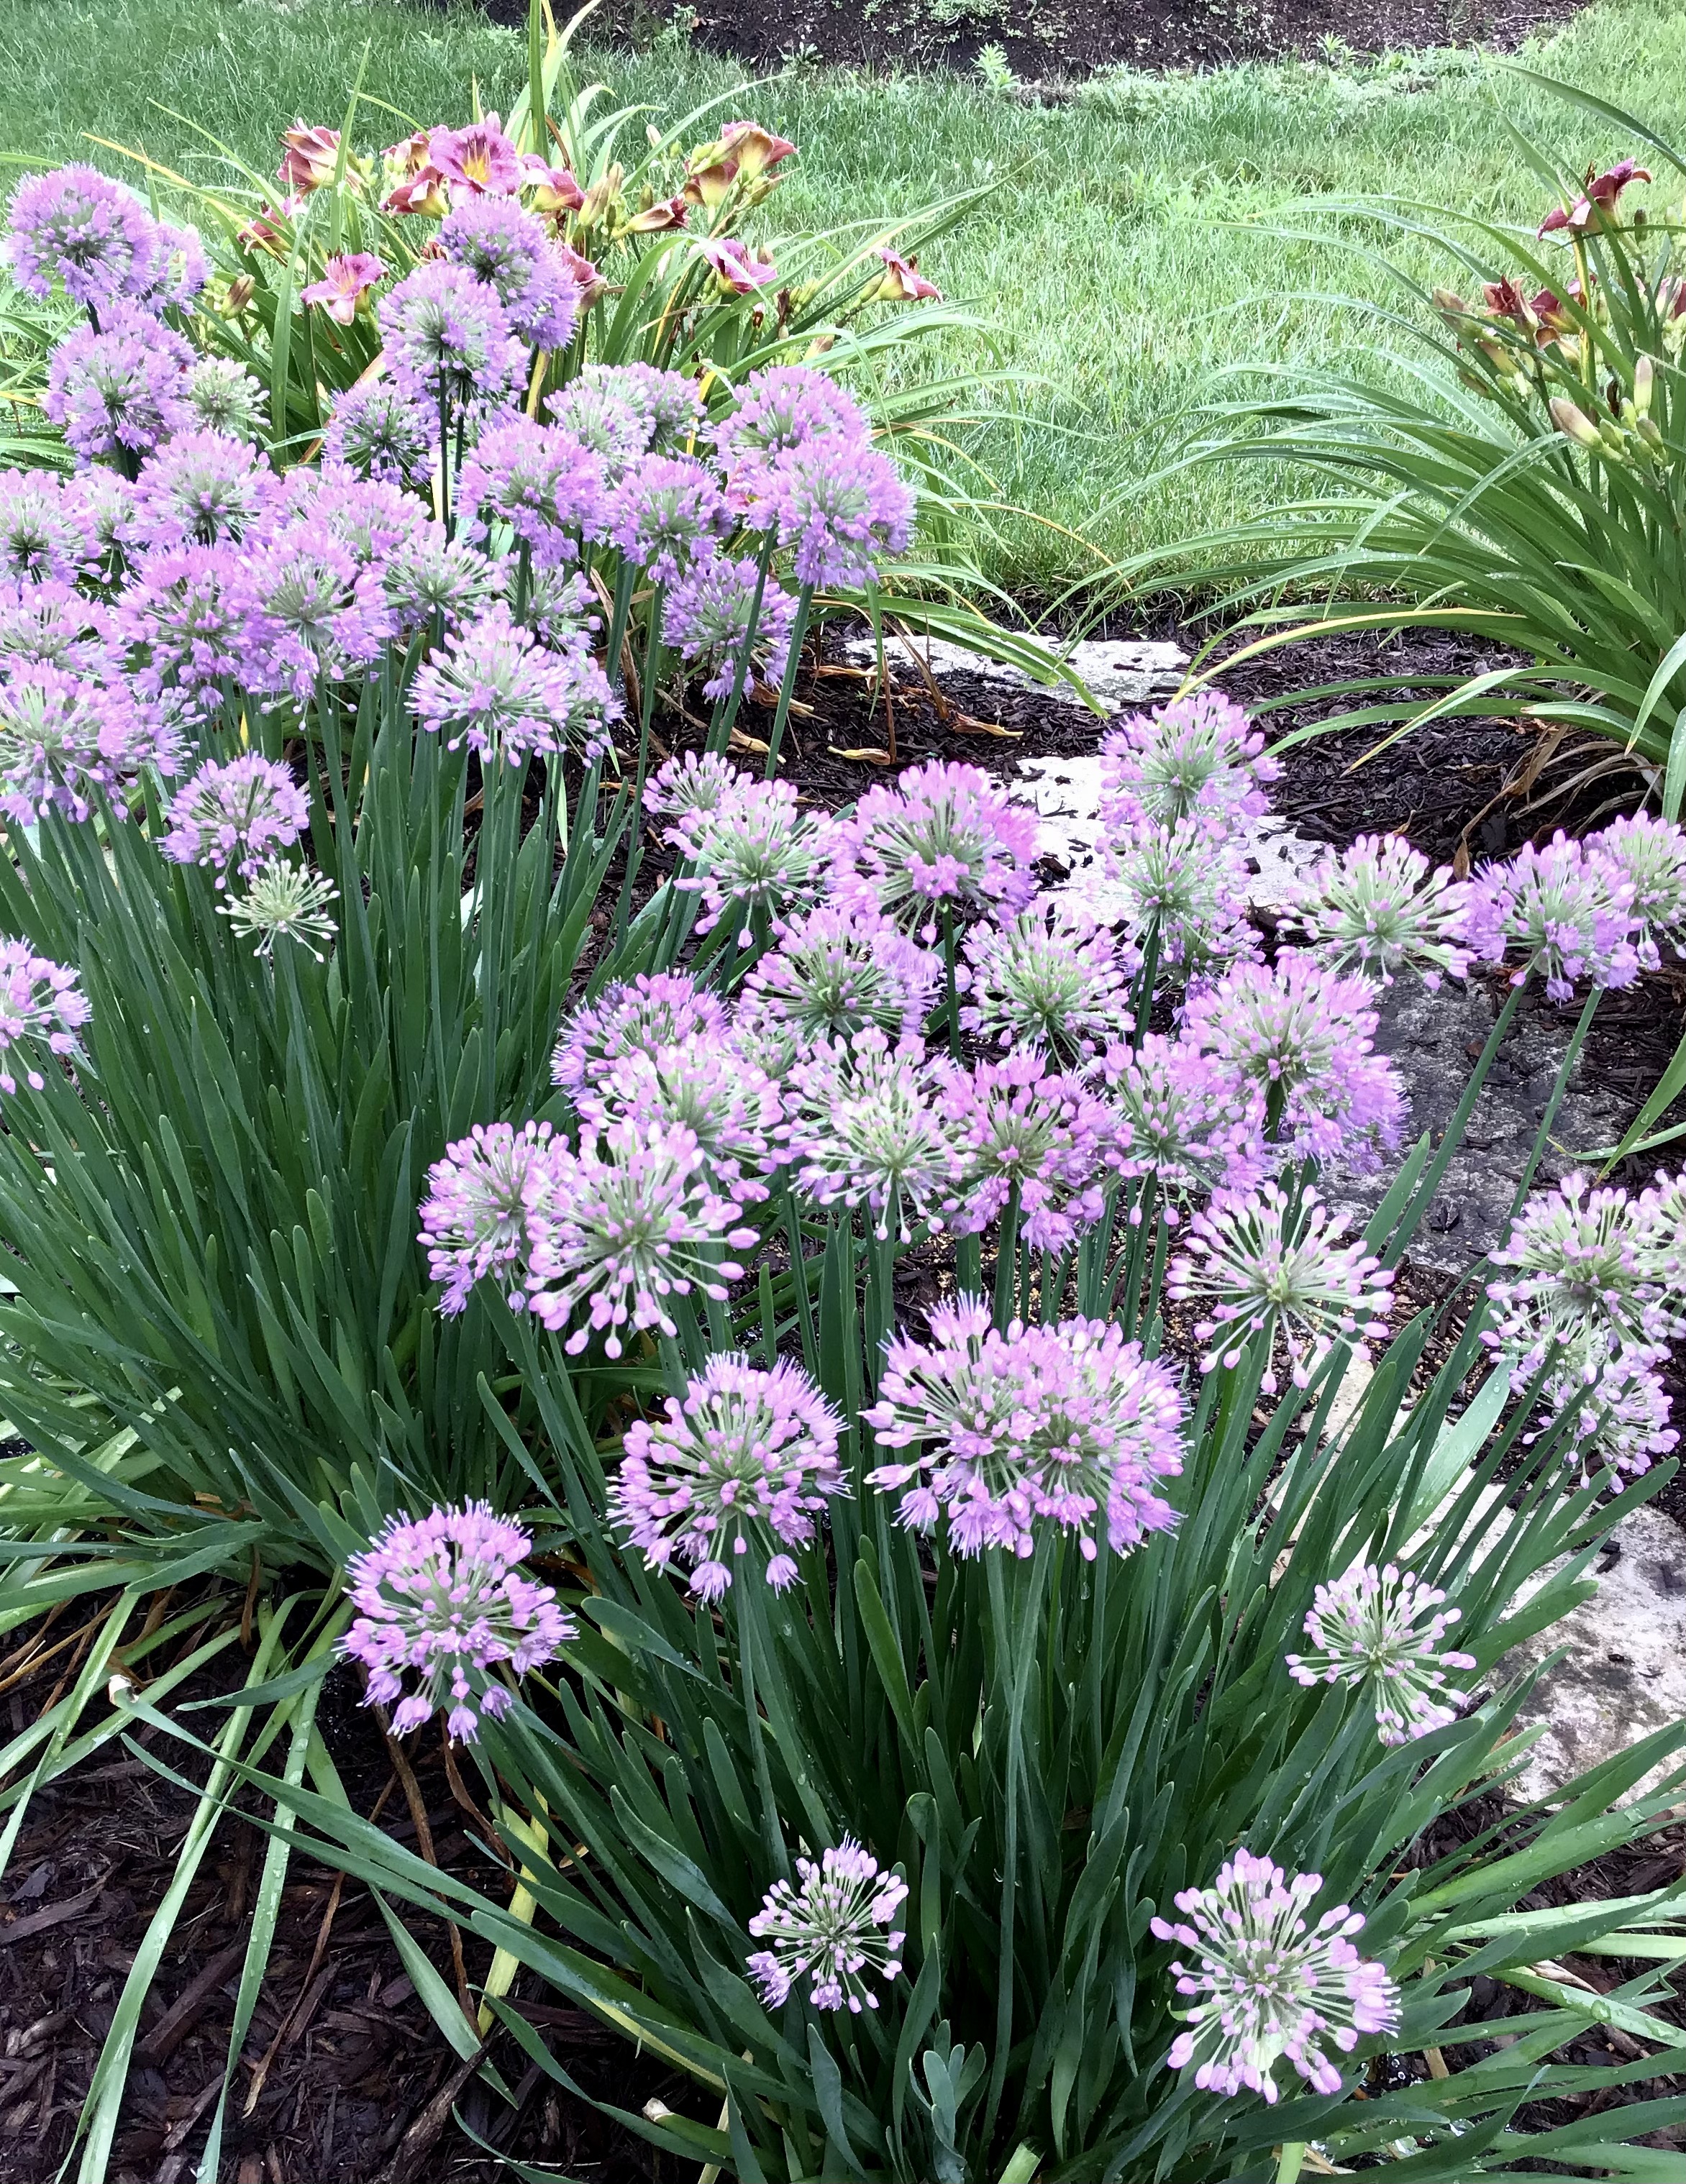
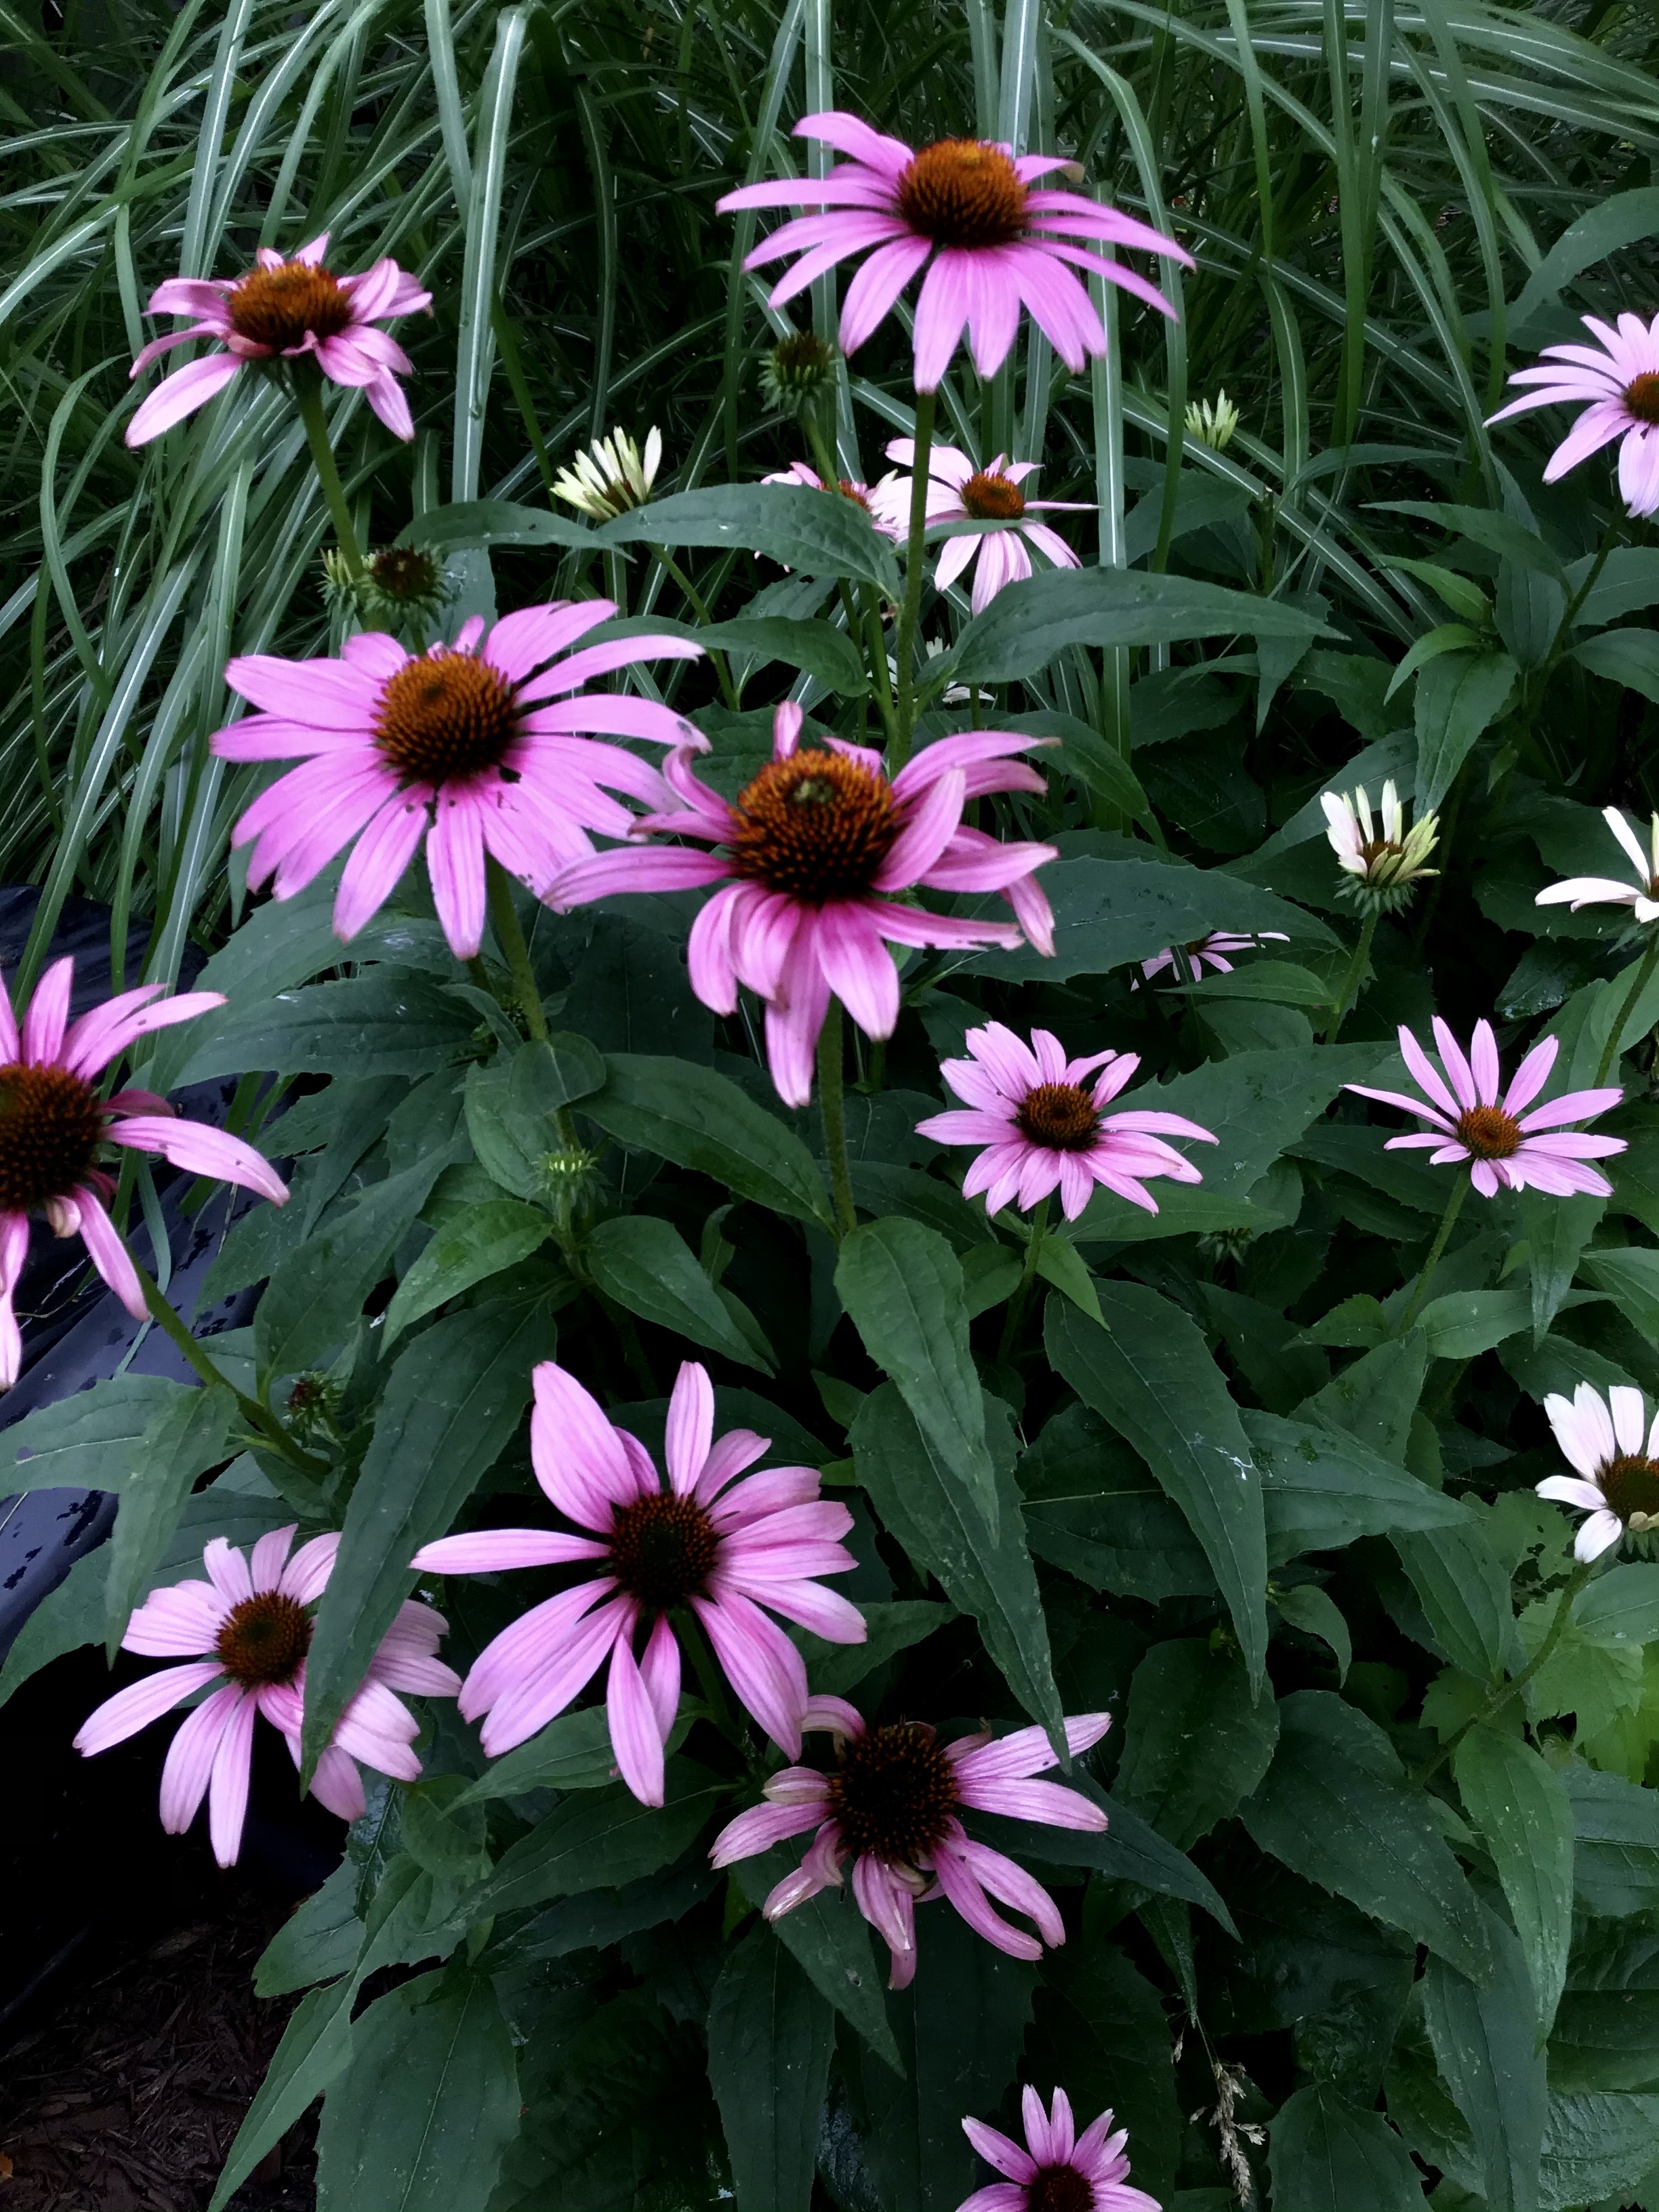
 Most mornings I “walk the garden,” with my cup of coffee. Today is gray and cloudy, and it rained last night so the garden is a bit squishy. But for me at least, my garden is always a bright spot. Here’s some of what it looked like this morning.
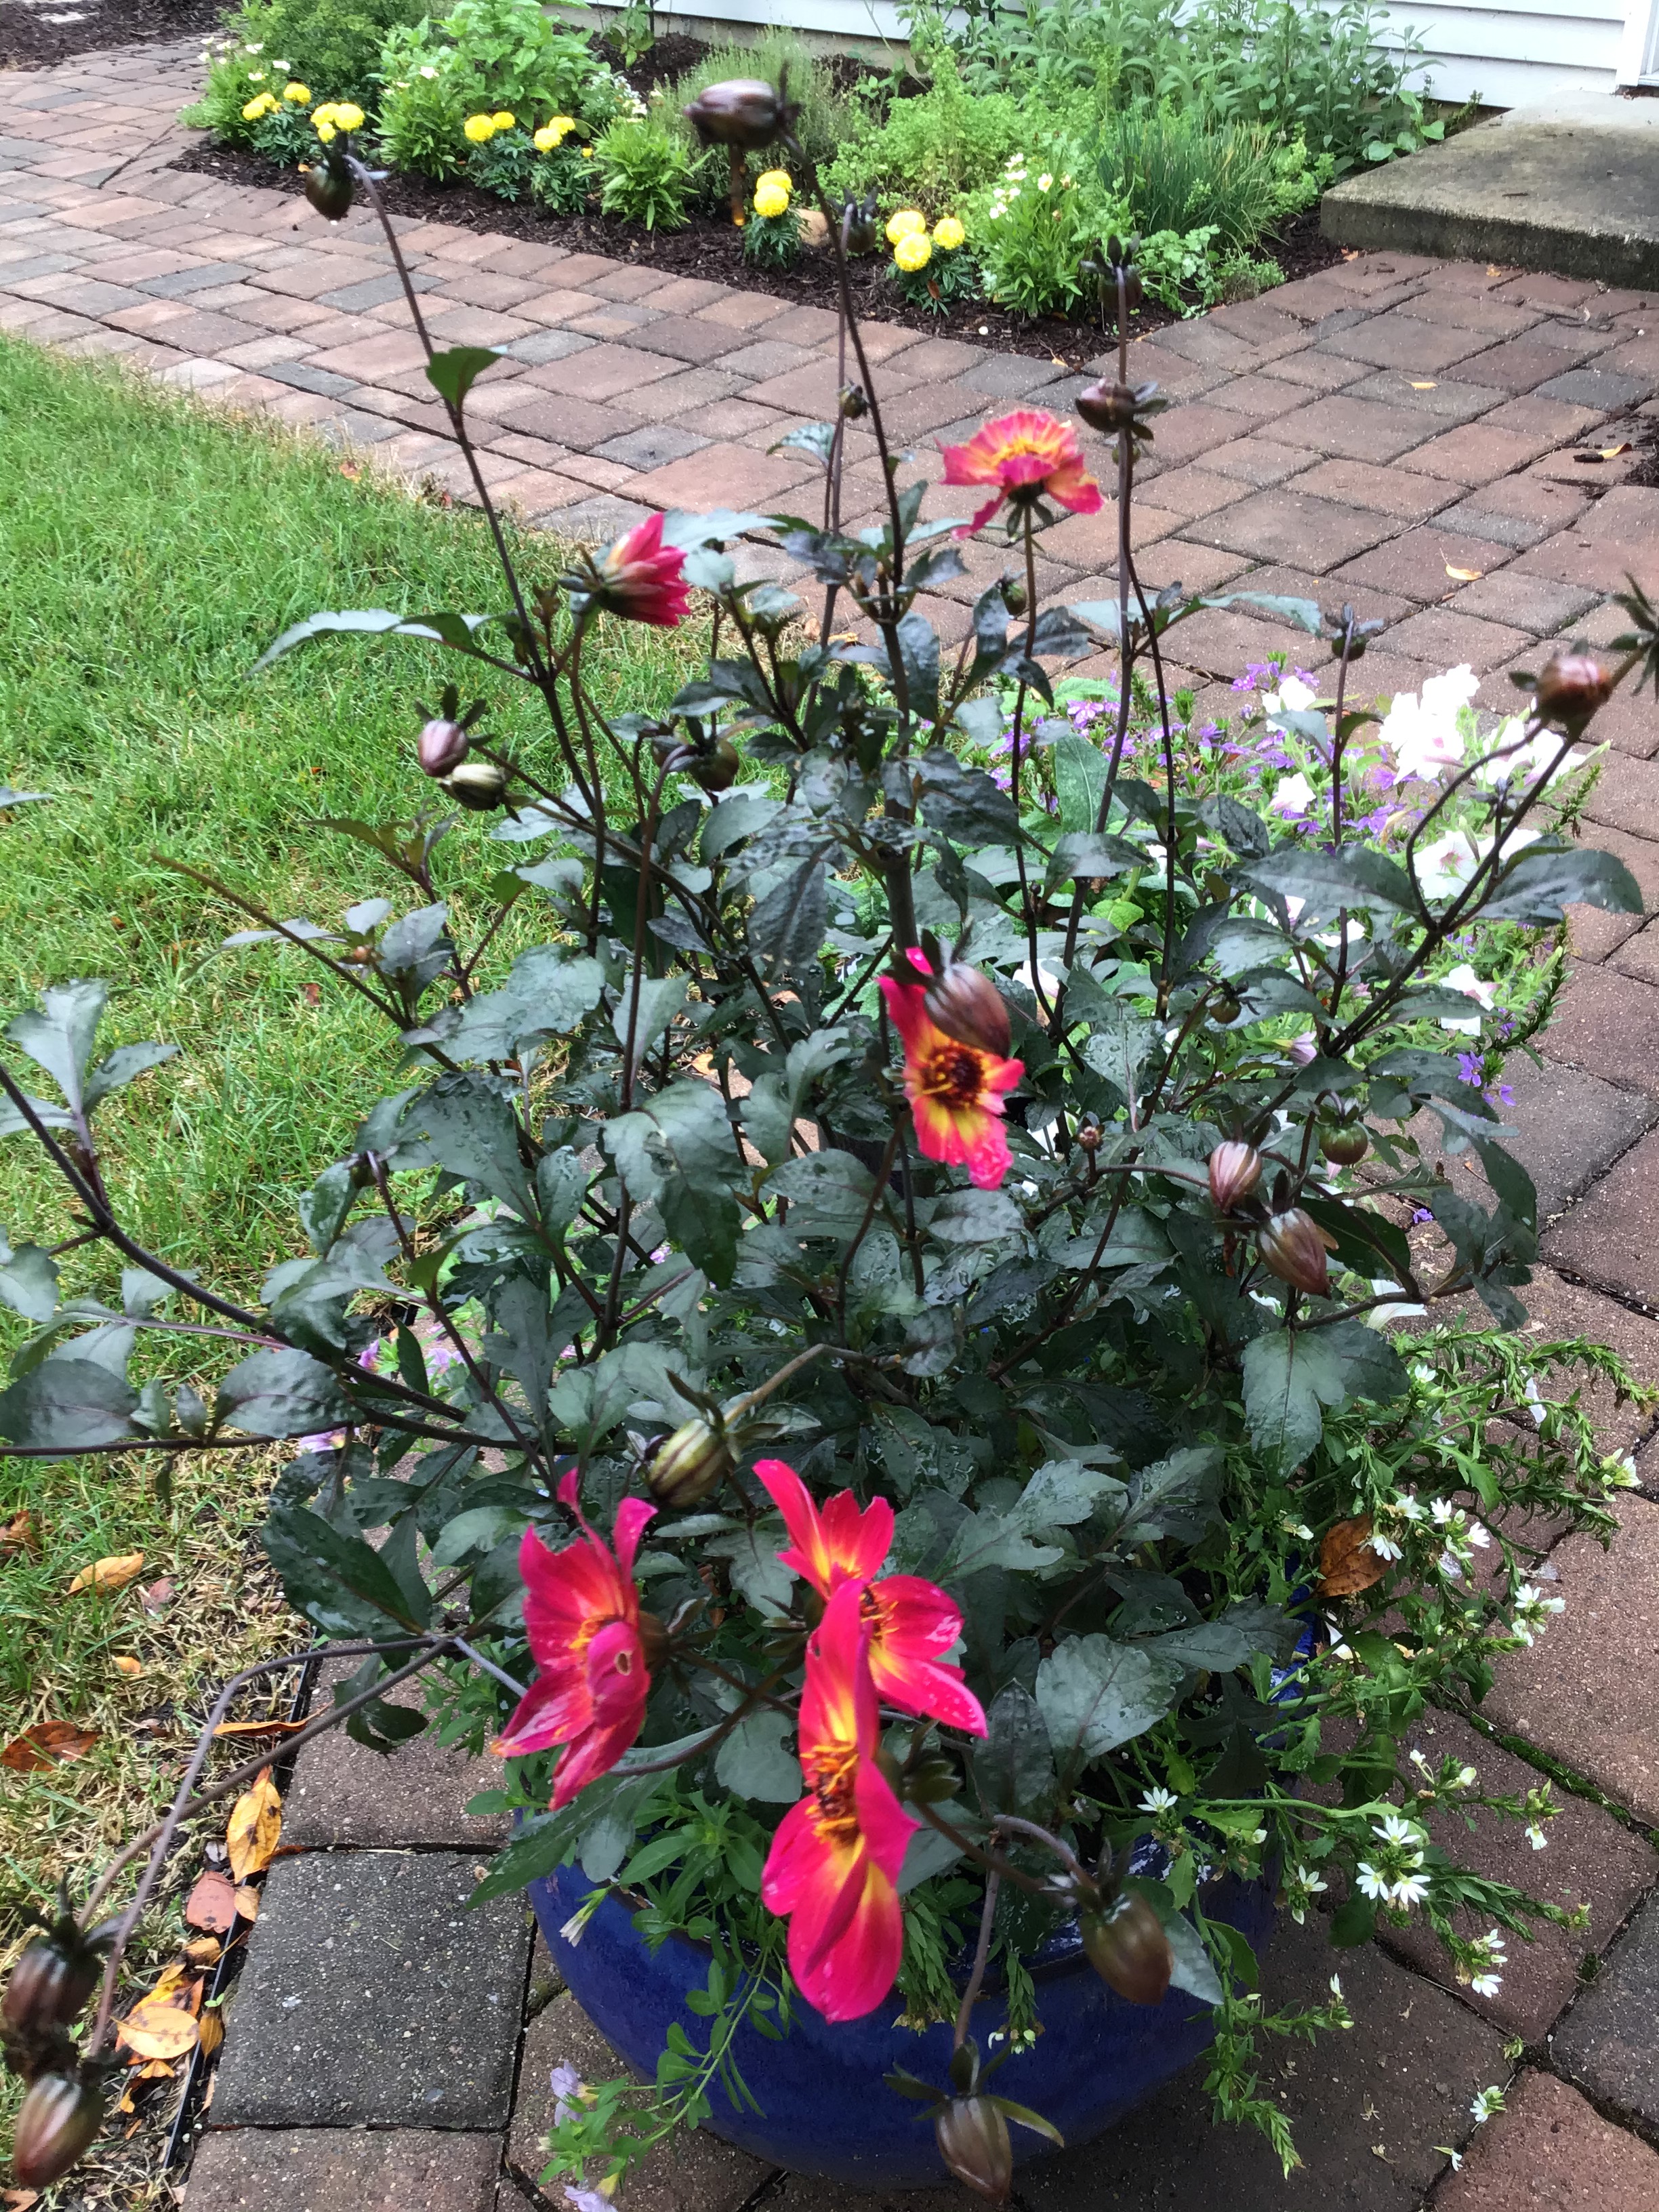


 How are you doing? Isolation is hard, but I honestly can’t complain. We’re healthy and so is our family. Right now, that’s everything.
 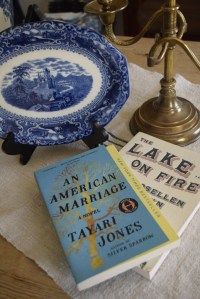 On Friday my book group met via Zoom to discuss The Lake is on Fire by Rosellen Brown. Fifteen of us logged on to talk, check in with each other, share a few war stories about life in a time of social distancing, and then realized we really could not talk all at once. (This happens even when we meet in person!)