And how it came to be.
Our new home is a builder’s “spec house,” purchased too late in the process to add any real customization like an extra wall outlet or alternative light fixture and in the midst of a supply chain calamity that made even getting a built-in oven and microwave a Herculean effort.
The architectural flourishes we admired in many of the models we visited during our home search were add-ons we would have happily paid for, but there was no one available to do them. So, in true Janet and Steve fashion, the more closely we examined “feature walls,” the more we thought, “We can do this.”
I don’t know if it started with Joanna Gaines and her shiplap, but feature walls decked out in various wood treatments and painted a contrasting color have become “a thing.” Actually, long before the feature wall trend, molding treatments on their own or framing wallpaper or fabric panels were popular, often a decorator’s trick to use pricier accents in smaller amounts or inject some architectural interest in a boxy space. Today’s feature walls have just taken that idea and run with it.
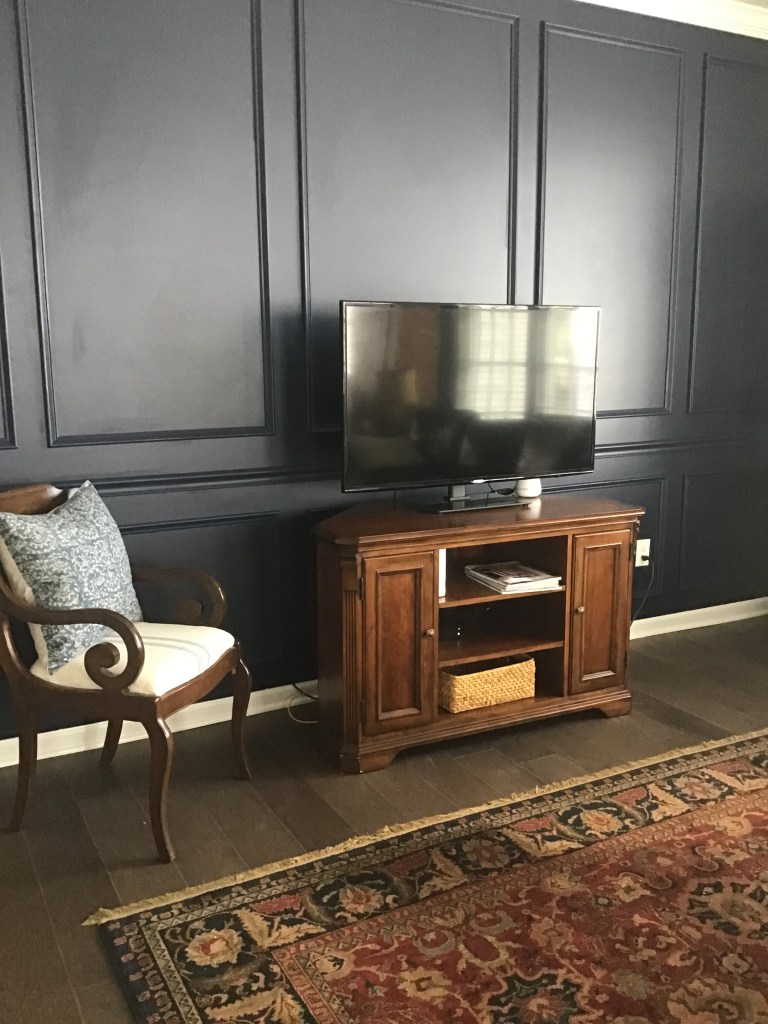
I saw feature walls more and more on Pinterest and in magazines for the last few years. When we started looking at houses, I saw them up close, painted in a trendy contrasting color and decked out with molding or board and batten trim. They provided an attractive architectural focal point for open floor plan spaces. As a bonus I noticed that when painted a dark color they lent a little camouflage to the flat screen televisions usually mounted on that primary wall. And frankly, the 9-foot by 15-foot blank wall in our great room was crying out for something to balance the rest of the room’s windows and open space.
Steve and I did some research and watched lots of YouTube tutorials. We went back to the model home here to take a closer look at similar treatments and take pictures. Then we got really carried away and decided to add similar molding and a chair rail to the entry.
It’s all geometry

We realized early on that the painting and wood trim were doable, the challenge was working out the geometry on the wall. Chair rails are a consistent 36-40 inches above the floor. But the boxes had to be evenly spaced and sized to accommodate existing electrical outlets and switches — something not one of the tutorials mentioned. Several sheets of graph paper later featuring not only the wall dimensions but also the location of outlets and switches, and using variously-sized paper templates to represent the proposed molding boxes, Steve figured it out. The five equal-width boxes we began with gave way to three different sizes, arranged symmetrically, (basically A, B, C, B, A) to accommodate a handful of electrical obstacles. All the boxes are spaced 4-inches apart and 4-inches from the base, chair rail and crown molding above and below them and 8-inches from each end to accommodate wall switches.

With the geometry solved, we collected our materials: chair rail, trim, and crown molding from the lumber department at Home Goods; and paint. Our plan was to paint the wall first. We assumed it would take two coats, but it would be easy to roll on — and it was. Then we’d paint the molding before cutting it to size and adding it to the wall. We could touch up whatever we needed to after. The first coat rolled on and the dark navy was bold but we loved it. It dried somewhat splotchy which wasn’t especially concerning, since we expected to need a second coat. The second coat was better, but there were still some patchy spots. Ugh! Before attempting any “repairs” to our paint job, Steve took pictures of the splotchy paint and headed back to the store to ask a few questions.
I need to stop here and tell you how terrific the pros at our local Sherwin Williams paint store are. Steve and the manager discussed the tools he used, the condition of the wall, etc. SW has a number of grades of paint and we had used an above-average grade (at the manager’s suggestion). So, the manager gave us a new gallon of top-of-the-line paint. (We didn’t ask for any freebies, SW just wanted us to have a successful project.) Steve came home and painted the wall yet again. Third time’s the charm!
Let’s hear it for customer service and quality materials. You have to wonder how many do-it-yourself projects are derailed because the instructions and/or materials aren’t up to the task, or the do-it-yourself-ers don’t ask the right questions. A good lesson to learn.

It may be a little unorthodox, but given how the sizes of our boxes worked out, Steve installed the crown at the top and the chair rail 36-inches off the floor. This would help us consistently align the boxes. He started in the middle of the wall, doing the bottom then the top boxes. Next he worked on the boxes on either side of the center and finally the ones on the end. He had painted, measured and pre-cut all the pieces ahead of time, labeling each piece with dimensions on the back.
Installation was like assembling a puzzle. We used a laser level to square up the bottom corner of each box, spread a small amount of glue on the back of each piece, then tacked it on using a pneumatic nailer. He nailed up the bottom of each box first, then the left side, then the right side. The top just dropped into place. We were a little tentative getting started and then surprised when the first finished box was done just as we’d planned. We got more and more efficient as we moved along. By the time we got to the entry hall, where all the boxes are down low, we were flying. (I’ll detail that in another post.)
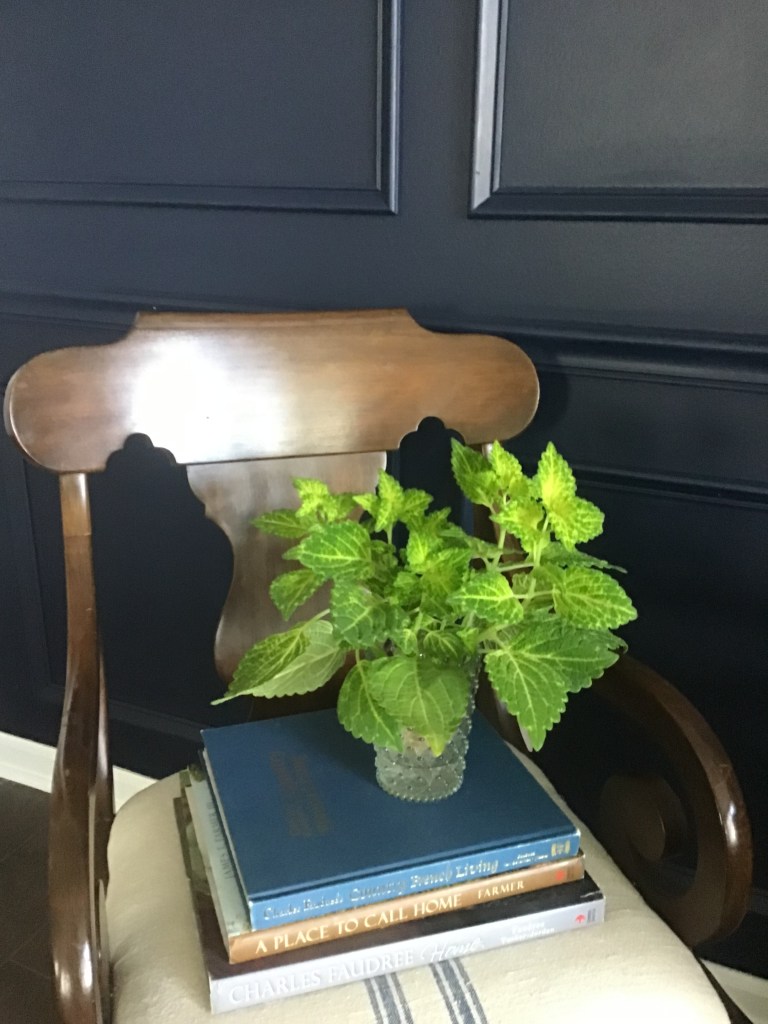
It turns out I was too busy as the carpenter’s helper, holding tools, getting a damp rag, holding the glue, moving the laser level, etc., to get in-progress pictures. But I can’t stop taking pictures of the finished wall.
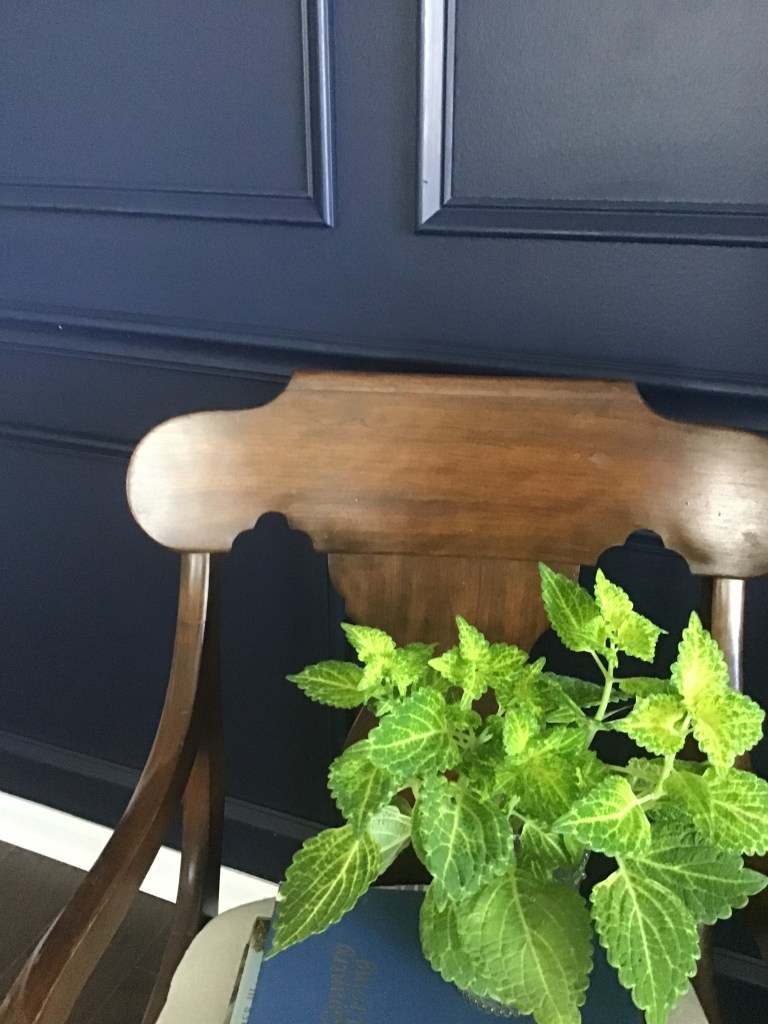
the molding are painted with the same finish.
So now while we continue to admire the results we have a few decisions to make.
Do we paint the wall and ceiling trim blue or keep it white?
And what about the white switch plates?
The plan has been to mount a TV here, but probably not the one we currently have. If we’re going to hang it on the wall, a newer, smarter one is preferable. We are trying two different templates on the wall for size — to be continued…
This may have been my idea, but my husband really made it happen. And didn’t he do a great job?
Thanks for stopping by. I’ll be back soon, because there’s more to share — including a new book club! See you again next time!


I am very impressed with your wall. It is a lovely transformation and the geometry (and prep) are impressive. I also learned a lesson. Go back and ask when things don’t seem quite right. Thanks!
LikeLike
Thank you! And yes, ask questions. We think we just got a bad can of paint the first time, but still a time-consuming correction.
LikeLike
This is just spectacular!! I adore the color and style. I think an antique buffet or console would be perfect.
LikeLike
An antique piece is just what I have in mind!
LikeLike
It’s beautiful! Bravo to Steve and his helper! Can’t wait for the episode. Please send more pictures!😊
Jerilyn Church
Sent from my iPhone
Please excuse any typos
LikeLike