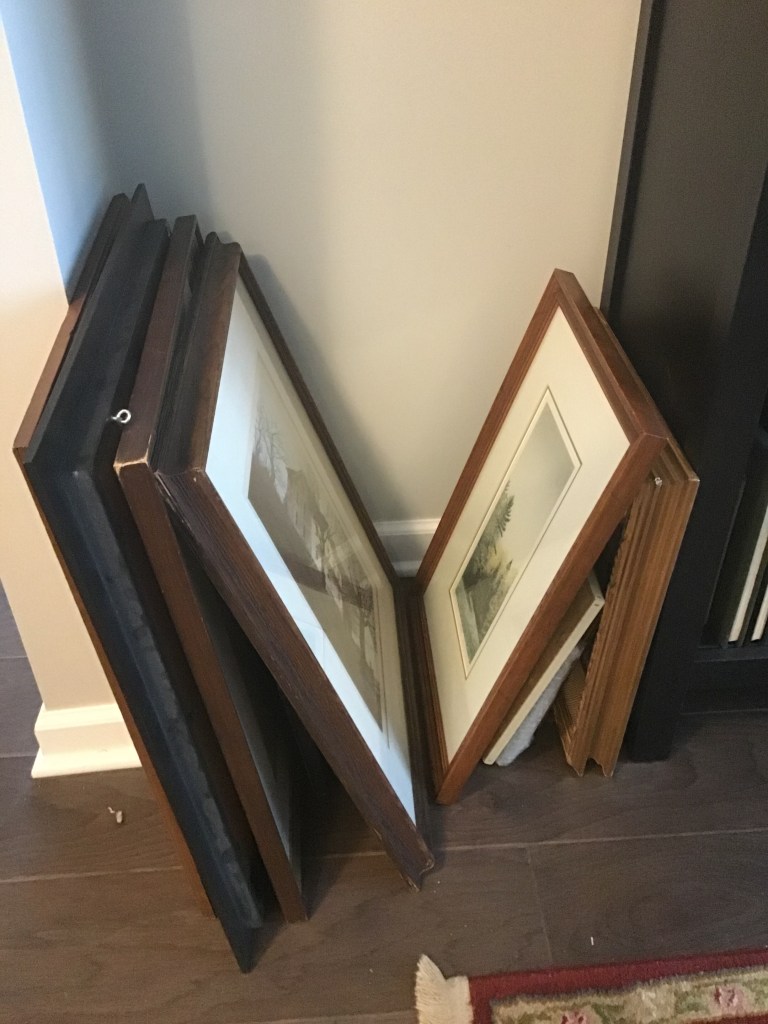
Recently, I put my heart in my back pocket and went ahead and made nail holes in our “virgin” walls. I’m not an empty walls kind of girl, and we had pictures, prints, etc., stacked up in corners everywhere. The real issue was less about making holes in new walls and more about deciding what should hang where.
First we decided what we definitely wanted to hang again, what we thought we would hang again, and what we never wanted to see again. (This last category took some negotiation and that process continues.)
About those holes in the wall
I never have a problem hammering a nail or picture hanger into the wall. Sometimes, of course, despite careful measuring, the picture is not hung in the exact spot you planned or maybe it is but doesn’t look right after all. In that case I just move it. Does this sound cavalier? My husband will roll his eyes at this, but I don’t worry much about excess holes in the wall. A dab of spackle, a quick sand and a light brush of paint take care of most errors. I admit that there have been times when the holes were not visible from minor hanging adjustments until we took all the artwork down to repaint the room and revealed what can only be described as a machine gun look to the walls. In my mind that just means more spackle before you paint. However, I understand that for some, this can be tragic.
Tackling new, blank walls
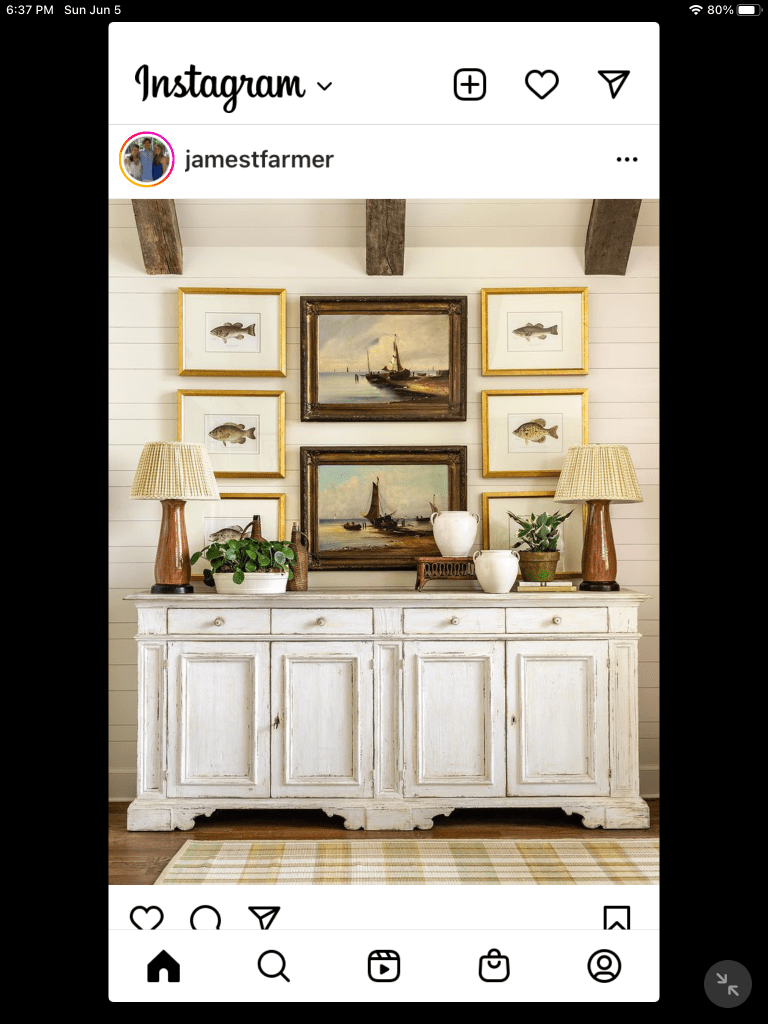
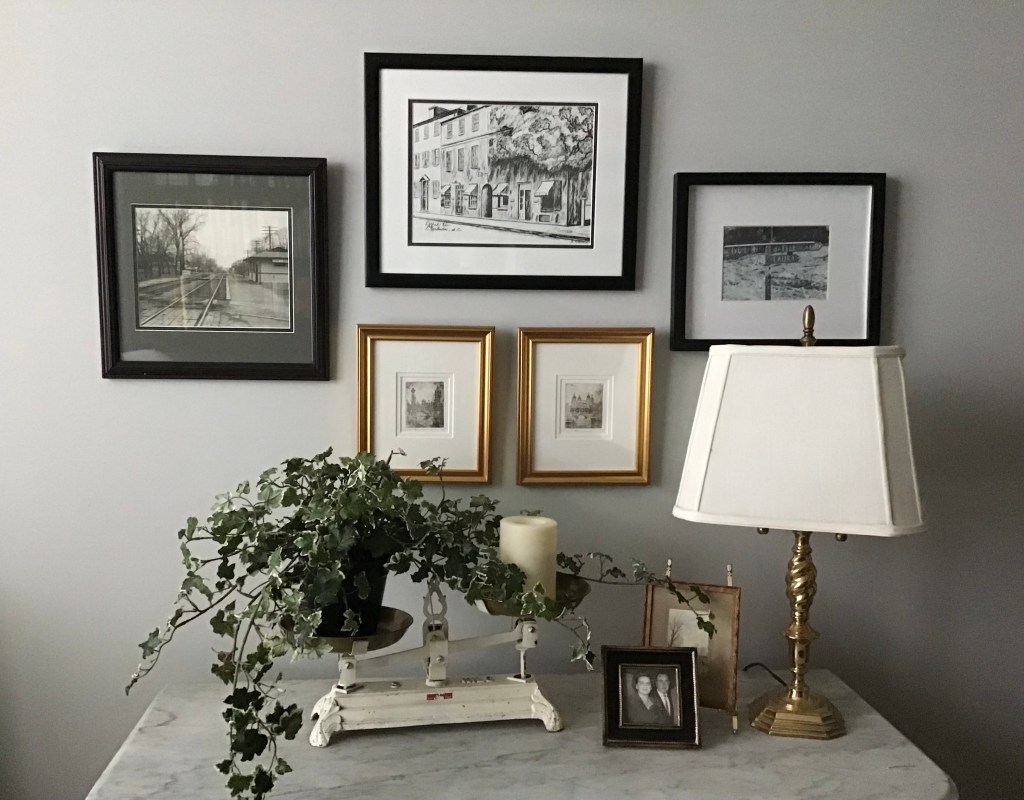
Sometimes there’s a natural anchor for artwork, like a fireplace or a piece of furniture. This is the bottom of the large buffet from my former dining room. When we moved here, I left the metal shelves off the top and settled it on the biggest wall in the foyer. These prints of Siena and Montapulciano hung in our former living room over a marble-topped dresser, but they seemed perfect for this space. I think, however, I need to switch to a larger lamp and perhaps extend the wall arrangement beyond the width of the cabinet. Does this look skimpy to you?

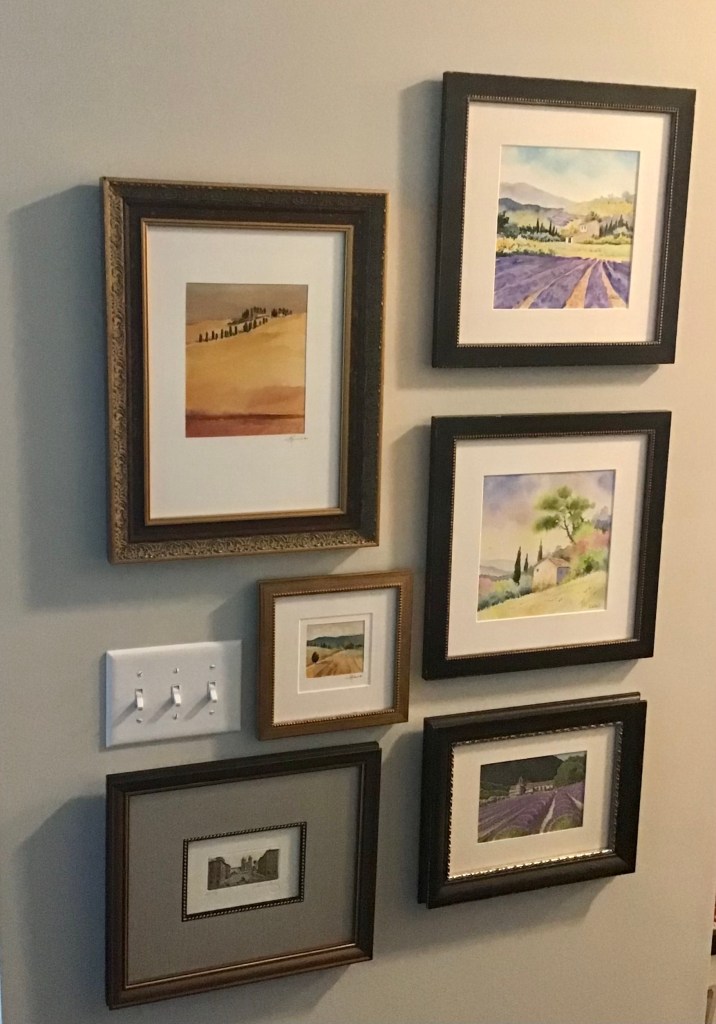
We are both really fond of a number of prints we bought on our European travels. They are grouped together on a slim wall space, also in the foyer. I started with the large print on the left, then the two from France stacked on the right. Then I just filled in the space. They all came from open air markets or tiny galleries and I don’t think any of them cost more than $20. I thought about just hanging the two square prints from France, but since this is across the hall from the arrangement above, it seemed appropriate to add more weight here for balance.
When I was arranging these groupings, (left and below) I started on the floor first. I discovered that a basic drop cloth was about the same color as our walls and it offered a neutral background for arranging the prints. So, I laid the pieces out, adding, subtracting and arranging space until it seemed right. Sometimes I had to walk away for a while and come back to it.

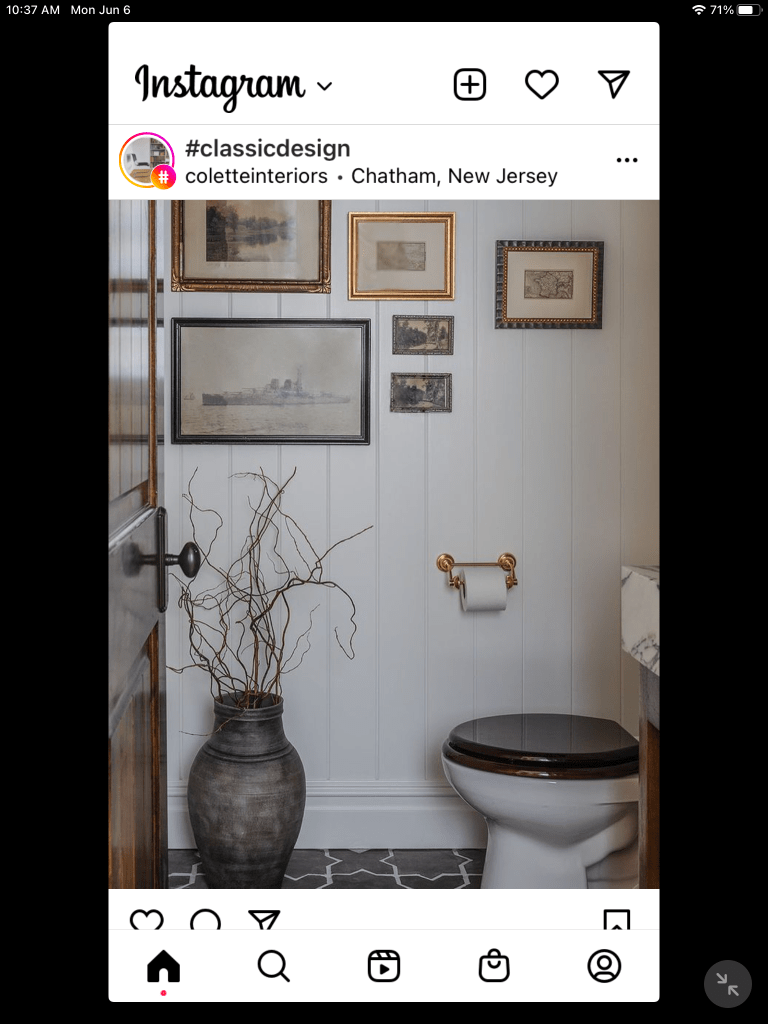
It’s interesting to mix the media in a group. We did that in the library with this combination of black and white photos, a black & white print and some smaller, sepia-tone prints. This is a grouping that I imagine may grow a bit, as we find additional pieces, though I would like to stick to black and white.
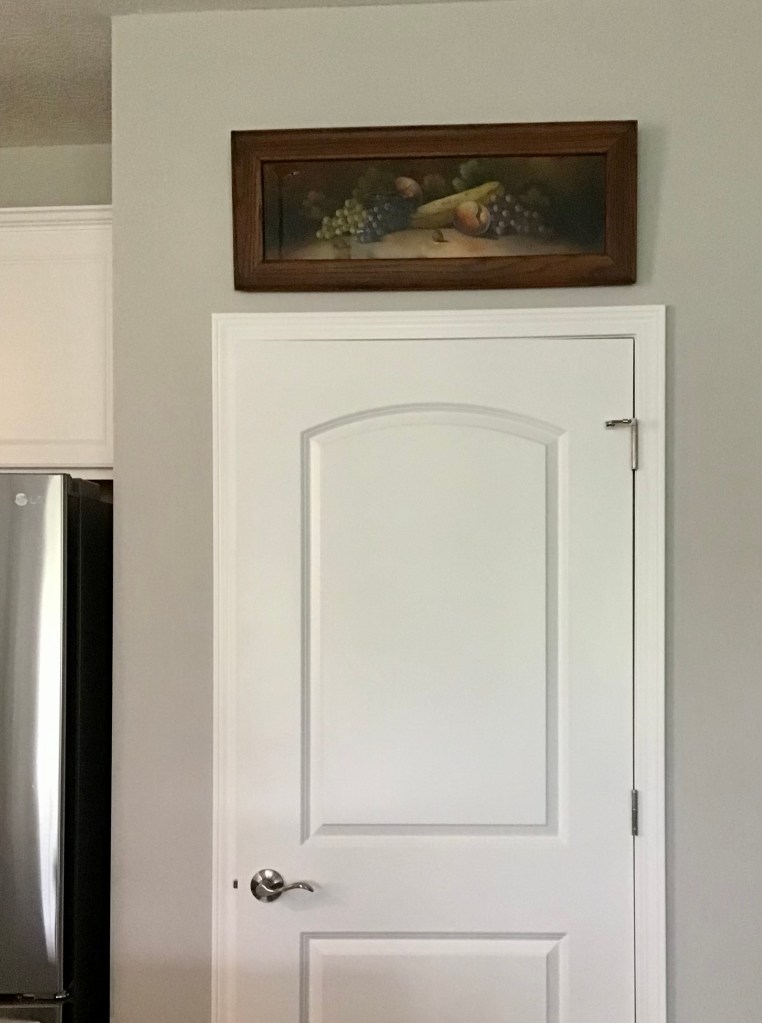
It’s fun to hang something in a more surprising spot, like over a door. This old fruit print is from my pears/plums/grapes period, when I was collecting artwork and plates with that motif. (It’s a long story.) I’ve passed on most of those pieces, but I do love this print and its unfortunately heavy, dark oak frame.
More hanging tips and tricks
- There’s a hanging system for everything, from heavy-duty french cleats (which we used to hang some antique shutters in our last house) to super light tacks for small pieces. Cruise the aisle with these supplies at the hardware store and ask questions. Then, arm yourself with a selection of anchors, hooks, hangers and even Command stick-on strips. I keep my supplies together in a kit with a small hammer and a tape measure so I have what I need when I’m ready to hang.
- Framing gets very expensive very quickly. Usually what we find on our travels or at antique markets is unframed. I have most things framed at Michael’s or Hobby Lobby, and I wait for a sale or a coupon. Their frame selection is substantial, and I have never been disappointed in their workmanship.
- You probably already know this, but in general, the center of a single picture should be between 56- and 60-inches from the floor. If you’re hanging a gallery of pictures, you will have to adjust this, but keep in mind that wall arrangements should be essentially at eye level, not floating above furniture.
The snake-bit system
A designer friend introduced me to this a few years ago. It requires two holes for every frame (Ouch!), but once hung nothing moves. This is especially useful in a hallway or high-traffic area where pictures often are knocked askew. To do this you need a hammer, small finishing nails, wirecutters, a small level, a small block of wood, a tape measure and pencil.
- Determine where you want the picture to be. I like to make a small pencil mark on the wall at the top corners of the frame and in from the left and right sides of the frame a quarter- to a half-inch, depending on the width of the frame.
- On the back of the frame, make comparable marks a quarter to a half-inch on the left and right sides and 1-1/2 to 2-1/2 inches down from the top of the frame. Tap a finishing nail into the frame at each of the two marks. The nails should be at an angle, like fangs on a snake. Make sure the nails are anchored firmly in the picture frame. Use the wirecutters to snip off the heads of the nails. You need to be able to drive this end into the wall.Measure the distance from the top and sides of the frame to the point where the nail is in the frame. Using the lightest touch of a pencil, transfer this to the wall, using those first marks you made indicating the left and right top of the frame.

- Using another finishing nail, make a “starter hole” in the wall for the snake bit nails to slide into. Tap this nail in part way and angled down to match the nails on the frame. Pull the nail out and you have holes for your snakebit nails to slide into. Now carefully fit the snakebit nails in the frame into the holes in the wall.
- Gently push the frame down to snug it to the wall. If you need the hammer to tap it in place, use the small block of wood between the hammer and the frame to prevent damage. Use a 6- or 8-inch level to check that the top of the frame is level.
Until you have done this a few times, it seems like a huge project. Don’t be discouraged if your holes are too big or unevenly spaced. Don’t be surprised if you end up with a few extra holes until you perfect this technique. We used it on these botanicals in our last house, and none of the prints dared to move.

None of these ideas are original. In fact, the concept of assembling wall art by subject matter or color is fairly “tried and true.” It works. Most of my ideas come from a Pinterest board I’ve saved called “Walls,” because it includes shelves, sconces, baskets, plates and more. Like I said earlier, there’s a way to hang almost anything on a wall. And the mix of items is so much fun!
Obviously, there are more walls to deck, more pieces to find places for, and inevitably more to collect, so stay tuned. For now I’m giving my hammer and hangers a rest and enjoying what we’ve accomplished.
Thank you so much for stopping by. See you again soon.